
Much like Illustrator Photoshop is a great tool for design. Photoshop is not just for editing photos, but for working with images to create works of art for whatever project you happen to be working on. There are many great tools in Photoshop to help you in your creation of designs. I will help you with a few tips and tricks to help speed your work along a bit in this blog.
Subject removal
Removing something from a photo is one of the most common things you might do in Photoshop so I will cover a few different ways to do this. Thankfully Photoshop has many great tools to do this some being easy some involving a bit more work depending on the content you are trying to remove from.
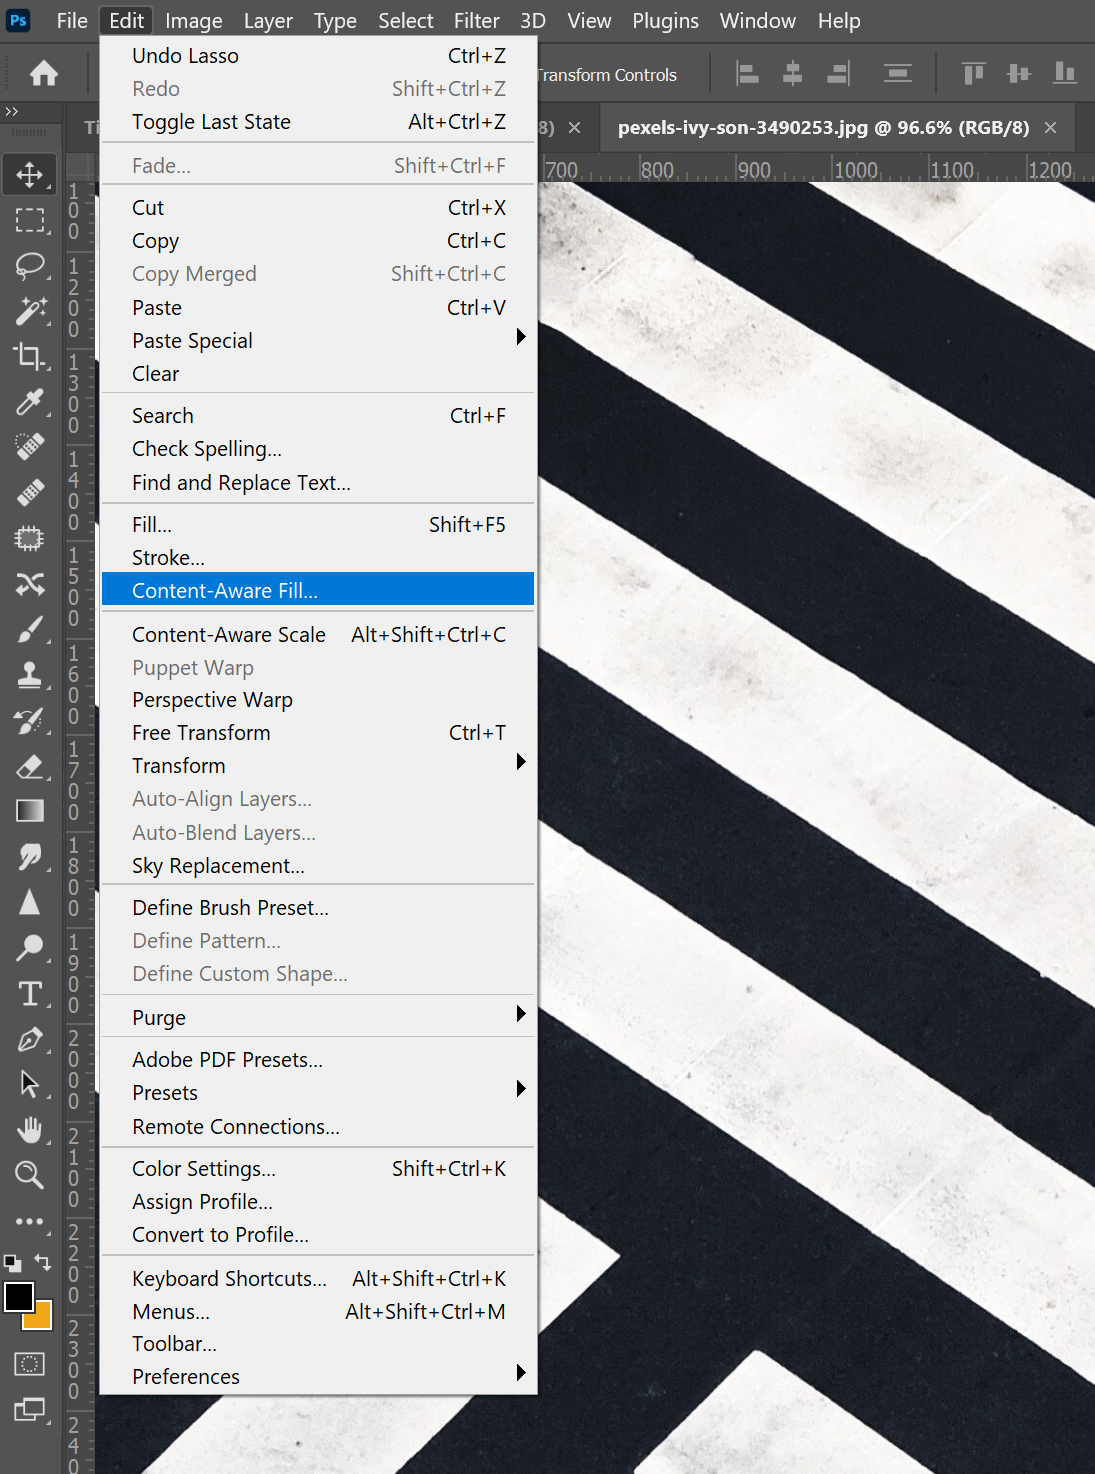
Content aware fill.
This tool does most if not all the hard work for you depending on the image. Content aware fill is an easy tool to use just select the section of the image you want to remove then in the menu select this tool. When the tool is in use you have a preview window that shows what the outcome will be. You are able to change the area that is sampled from for the content fill to make a better outcome.
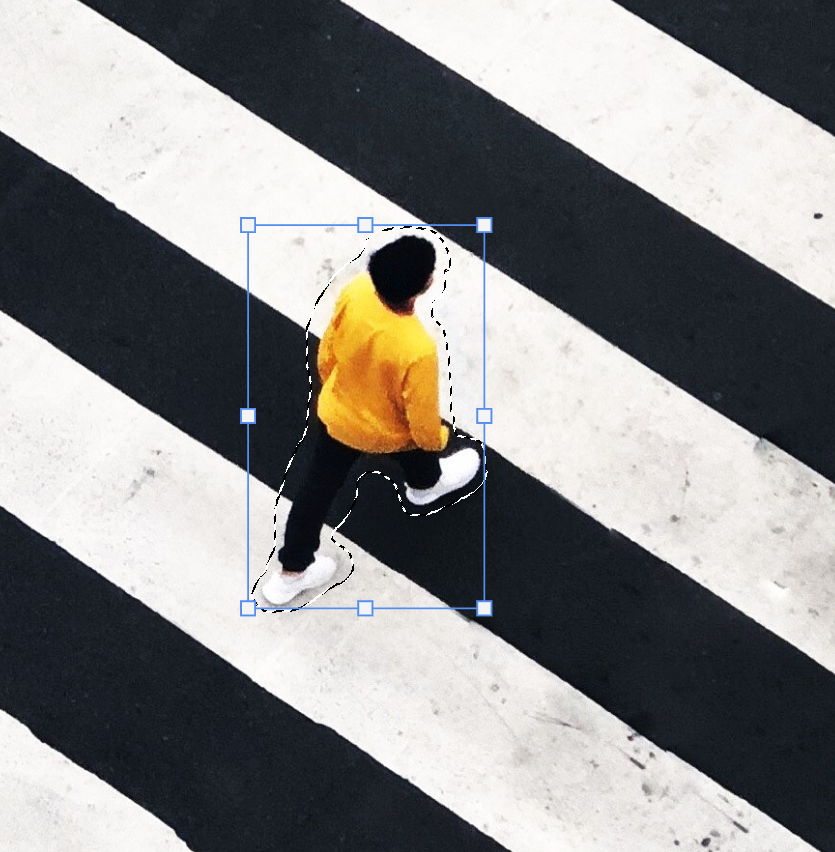

Before.

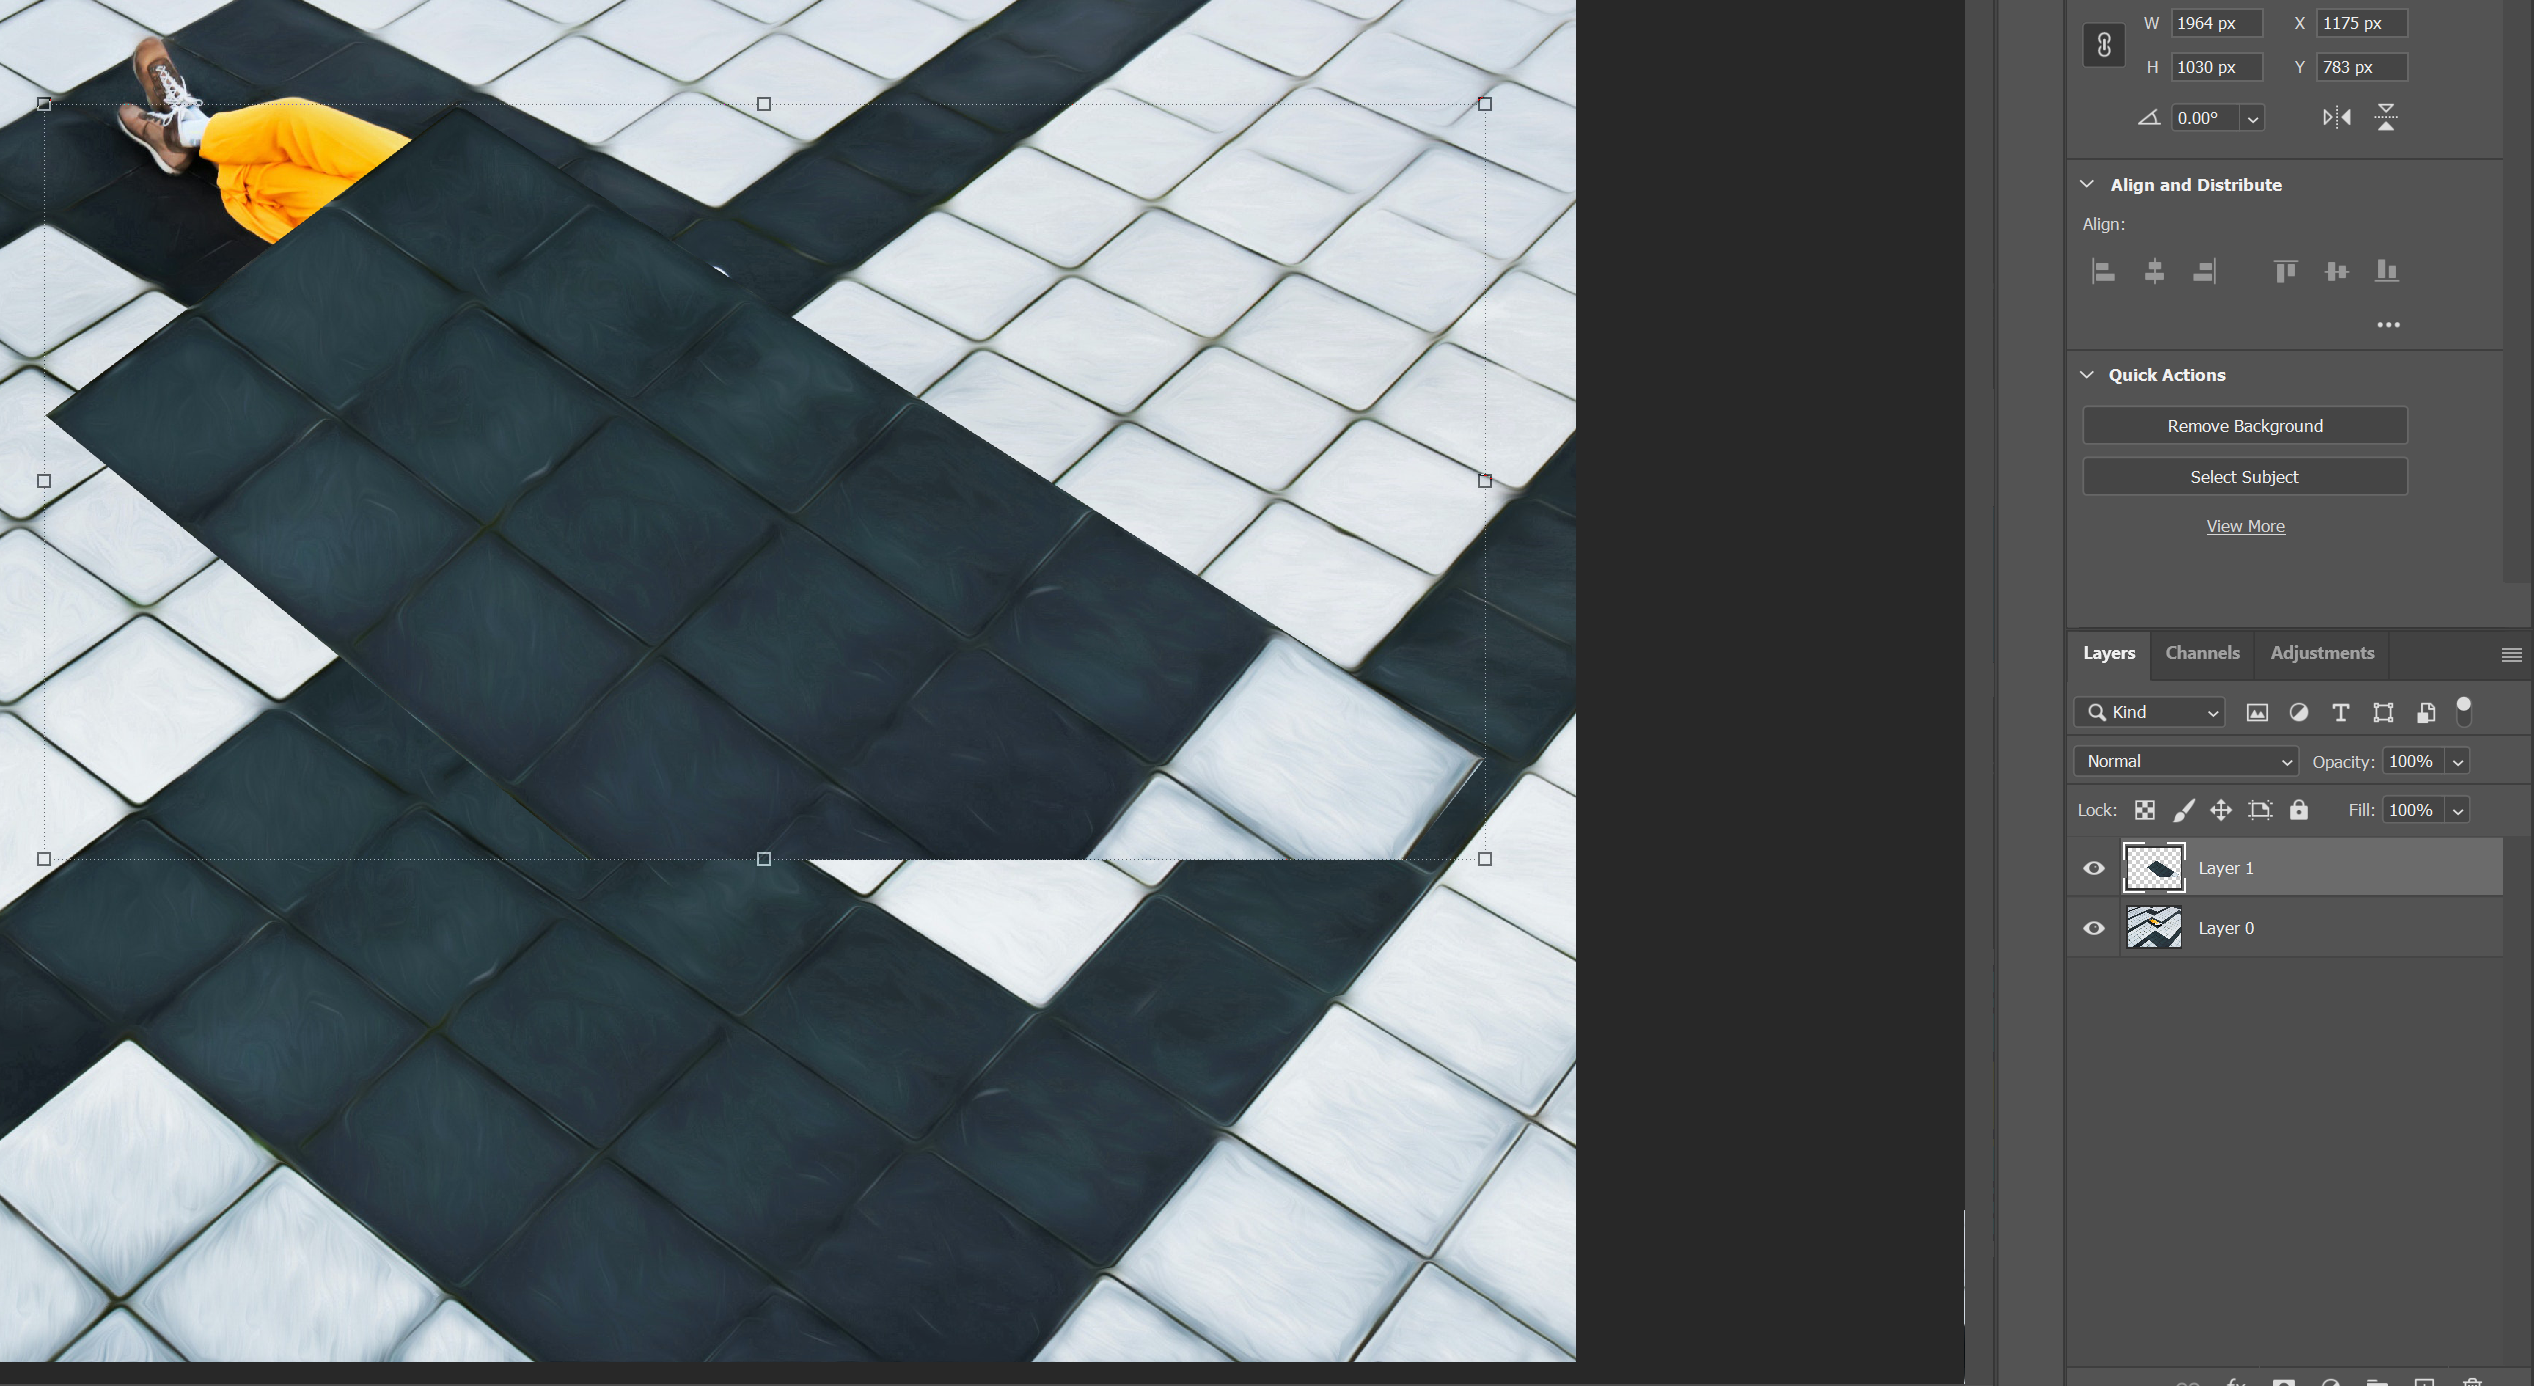
After.

Clone stamp.
This tool is a bit more work, but can do a very nice job and it is able to be used in more complicated images. For this one once you have the tool selected you have to press the alt key and select where you want to take the sample form. You then simply brush over the section you want to remove.


Before.

After.

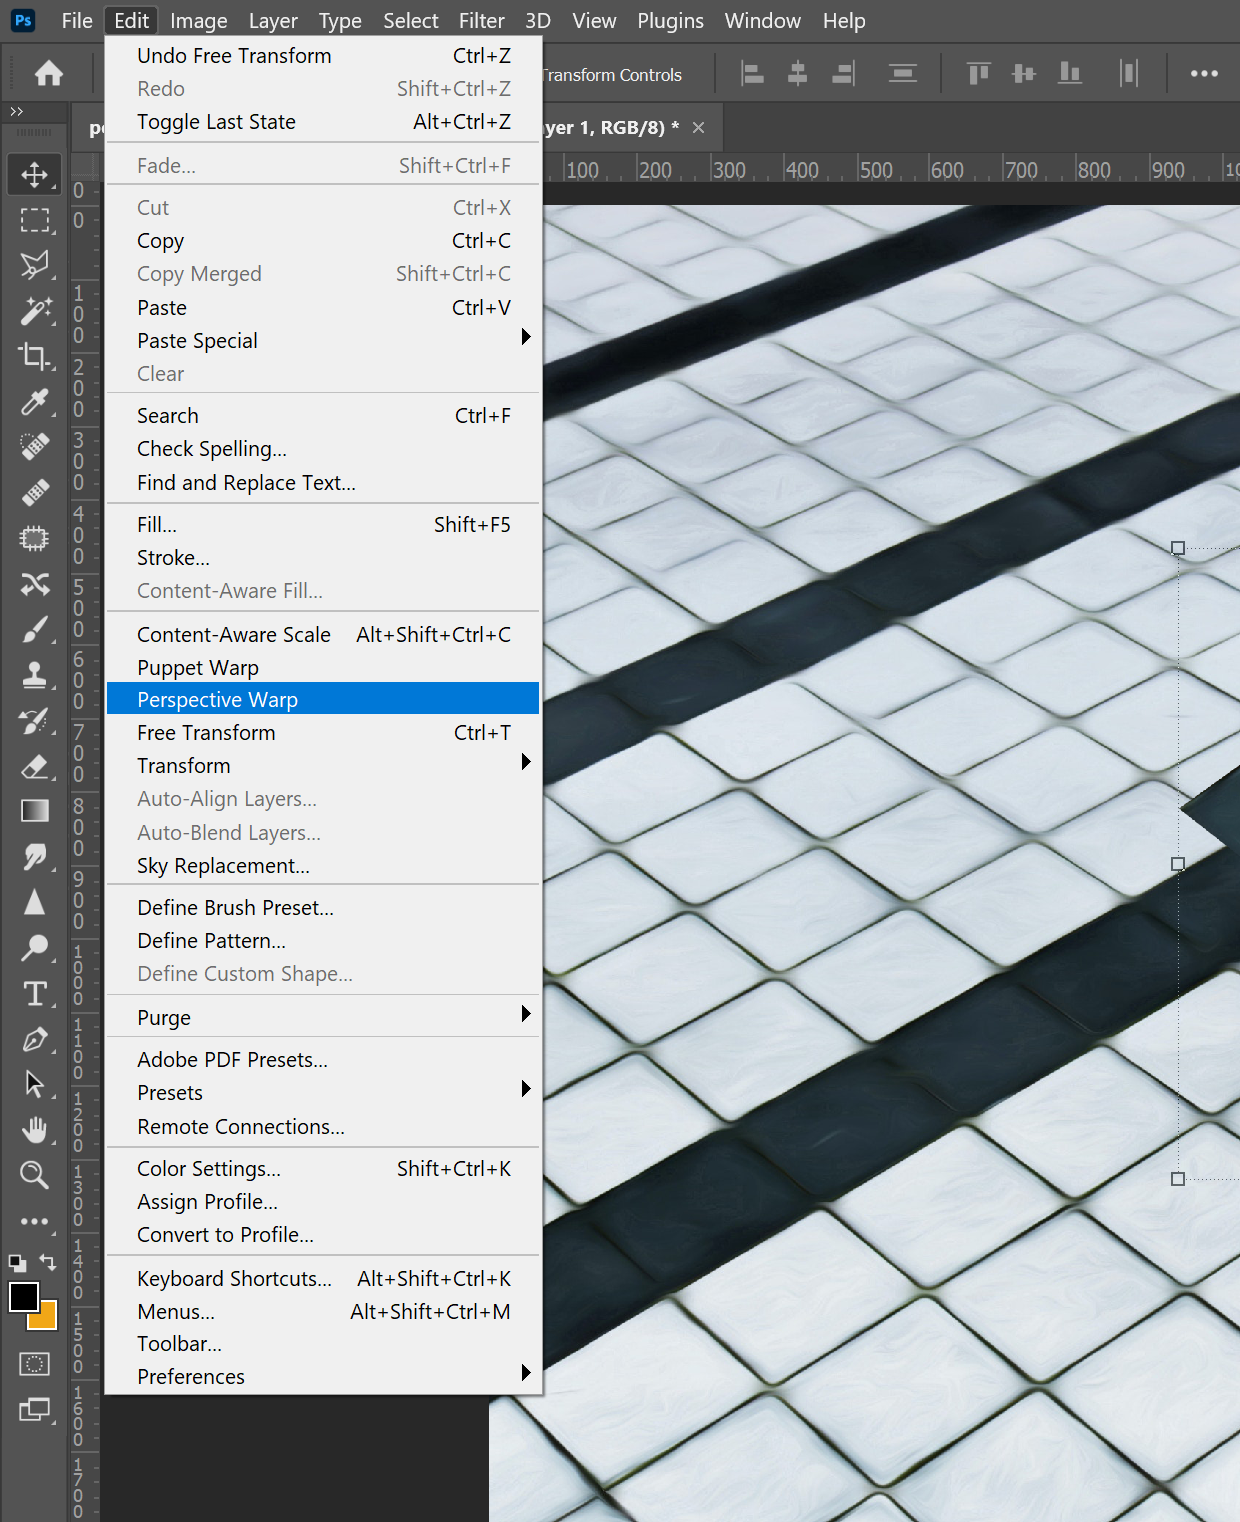
And finally, is the tool that is more situational Perspective warp.
This one takes a bit more work and only works in images that have sections you can sample from. If the image you are working on has this it can mean this tool will be able to help where other tools may not work. The first thing you need to do is use section tools to select the part of the image you want to use as the cover. Then, copy and paste that selected part. Then, in the edit menu select the perspective warp tool. The first step of this tool is to move the corners to the corners of the section you want to warp. Then, hit enter and move the corners to the final placement for the image.


Before.

After.
Some images will be fine after one of these tools some will require a combination of the three. I had to use the clone stamp tool for a little bit just to finish it up. This is the basics for removing a part from an image in Photoshop and over all it is very easy to do.
I was going to go into more tip for Photoshop. However after doing some work on this blog I thought it would be best to space things out. So comeback next time for more Photoshop tips.
