
Carrying on from part 1 where I covered how to remove objects from images in multiple ways I am going to cover some more things that can help you out in Photoshop first up is one of the big things in Photoshop, that being masking.
The 2 main ways to mask that I use are as follows.
Using brush to paint in a mask.
To do this first make a mask layer and then using the brush tool paint black into the areas that you want to hide. This method makes it easy to have things that are wrapped around other objects.
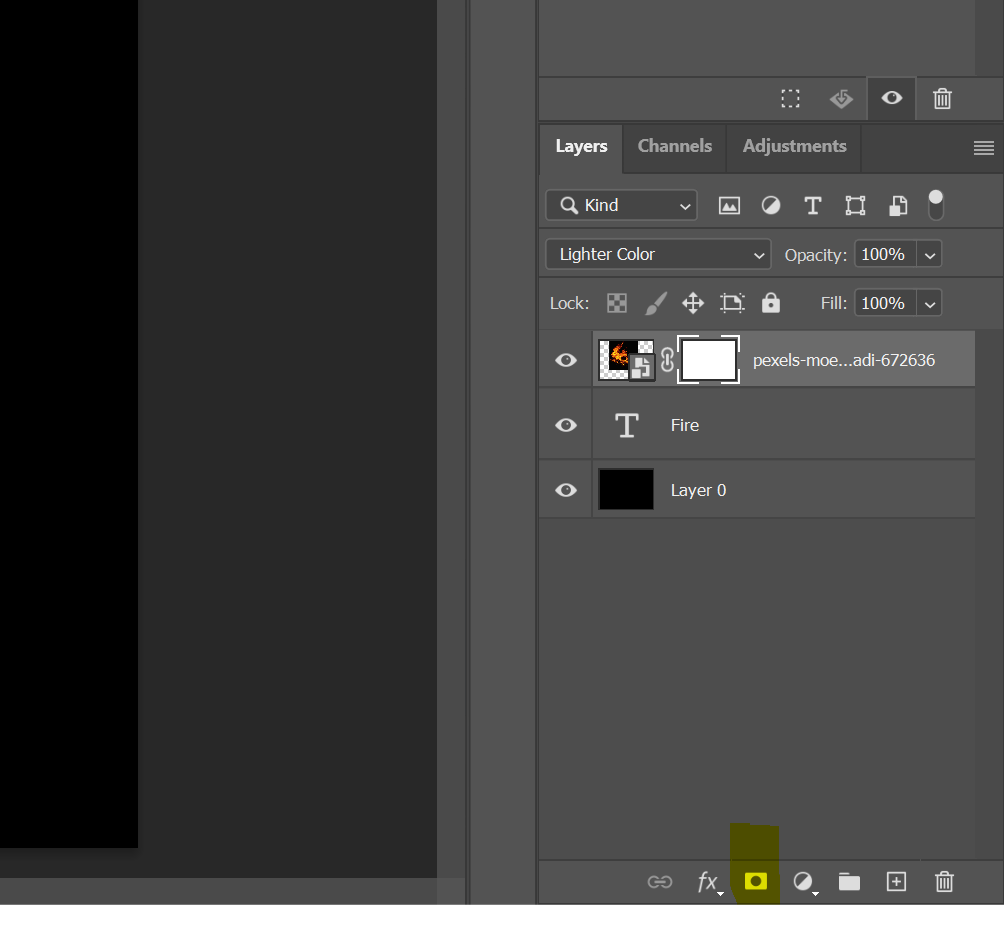
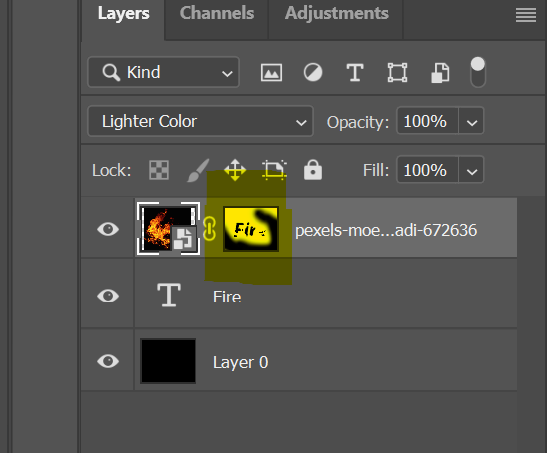
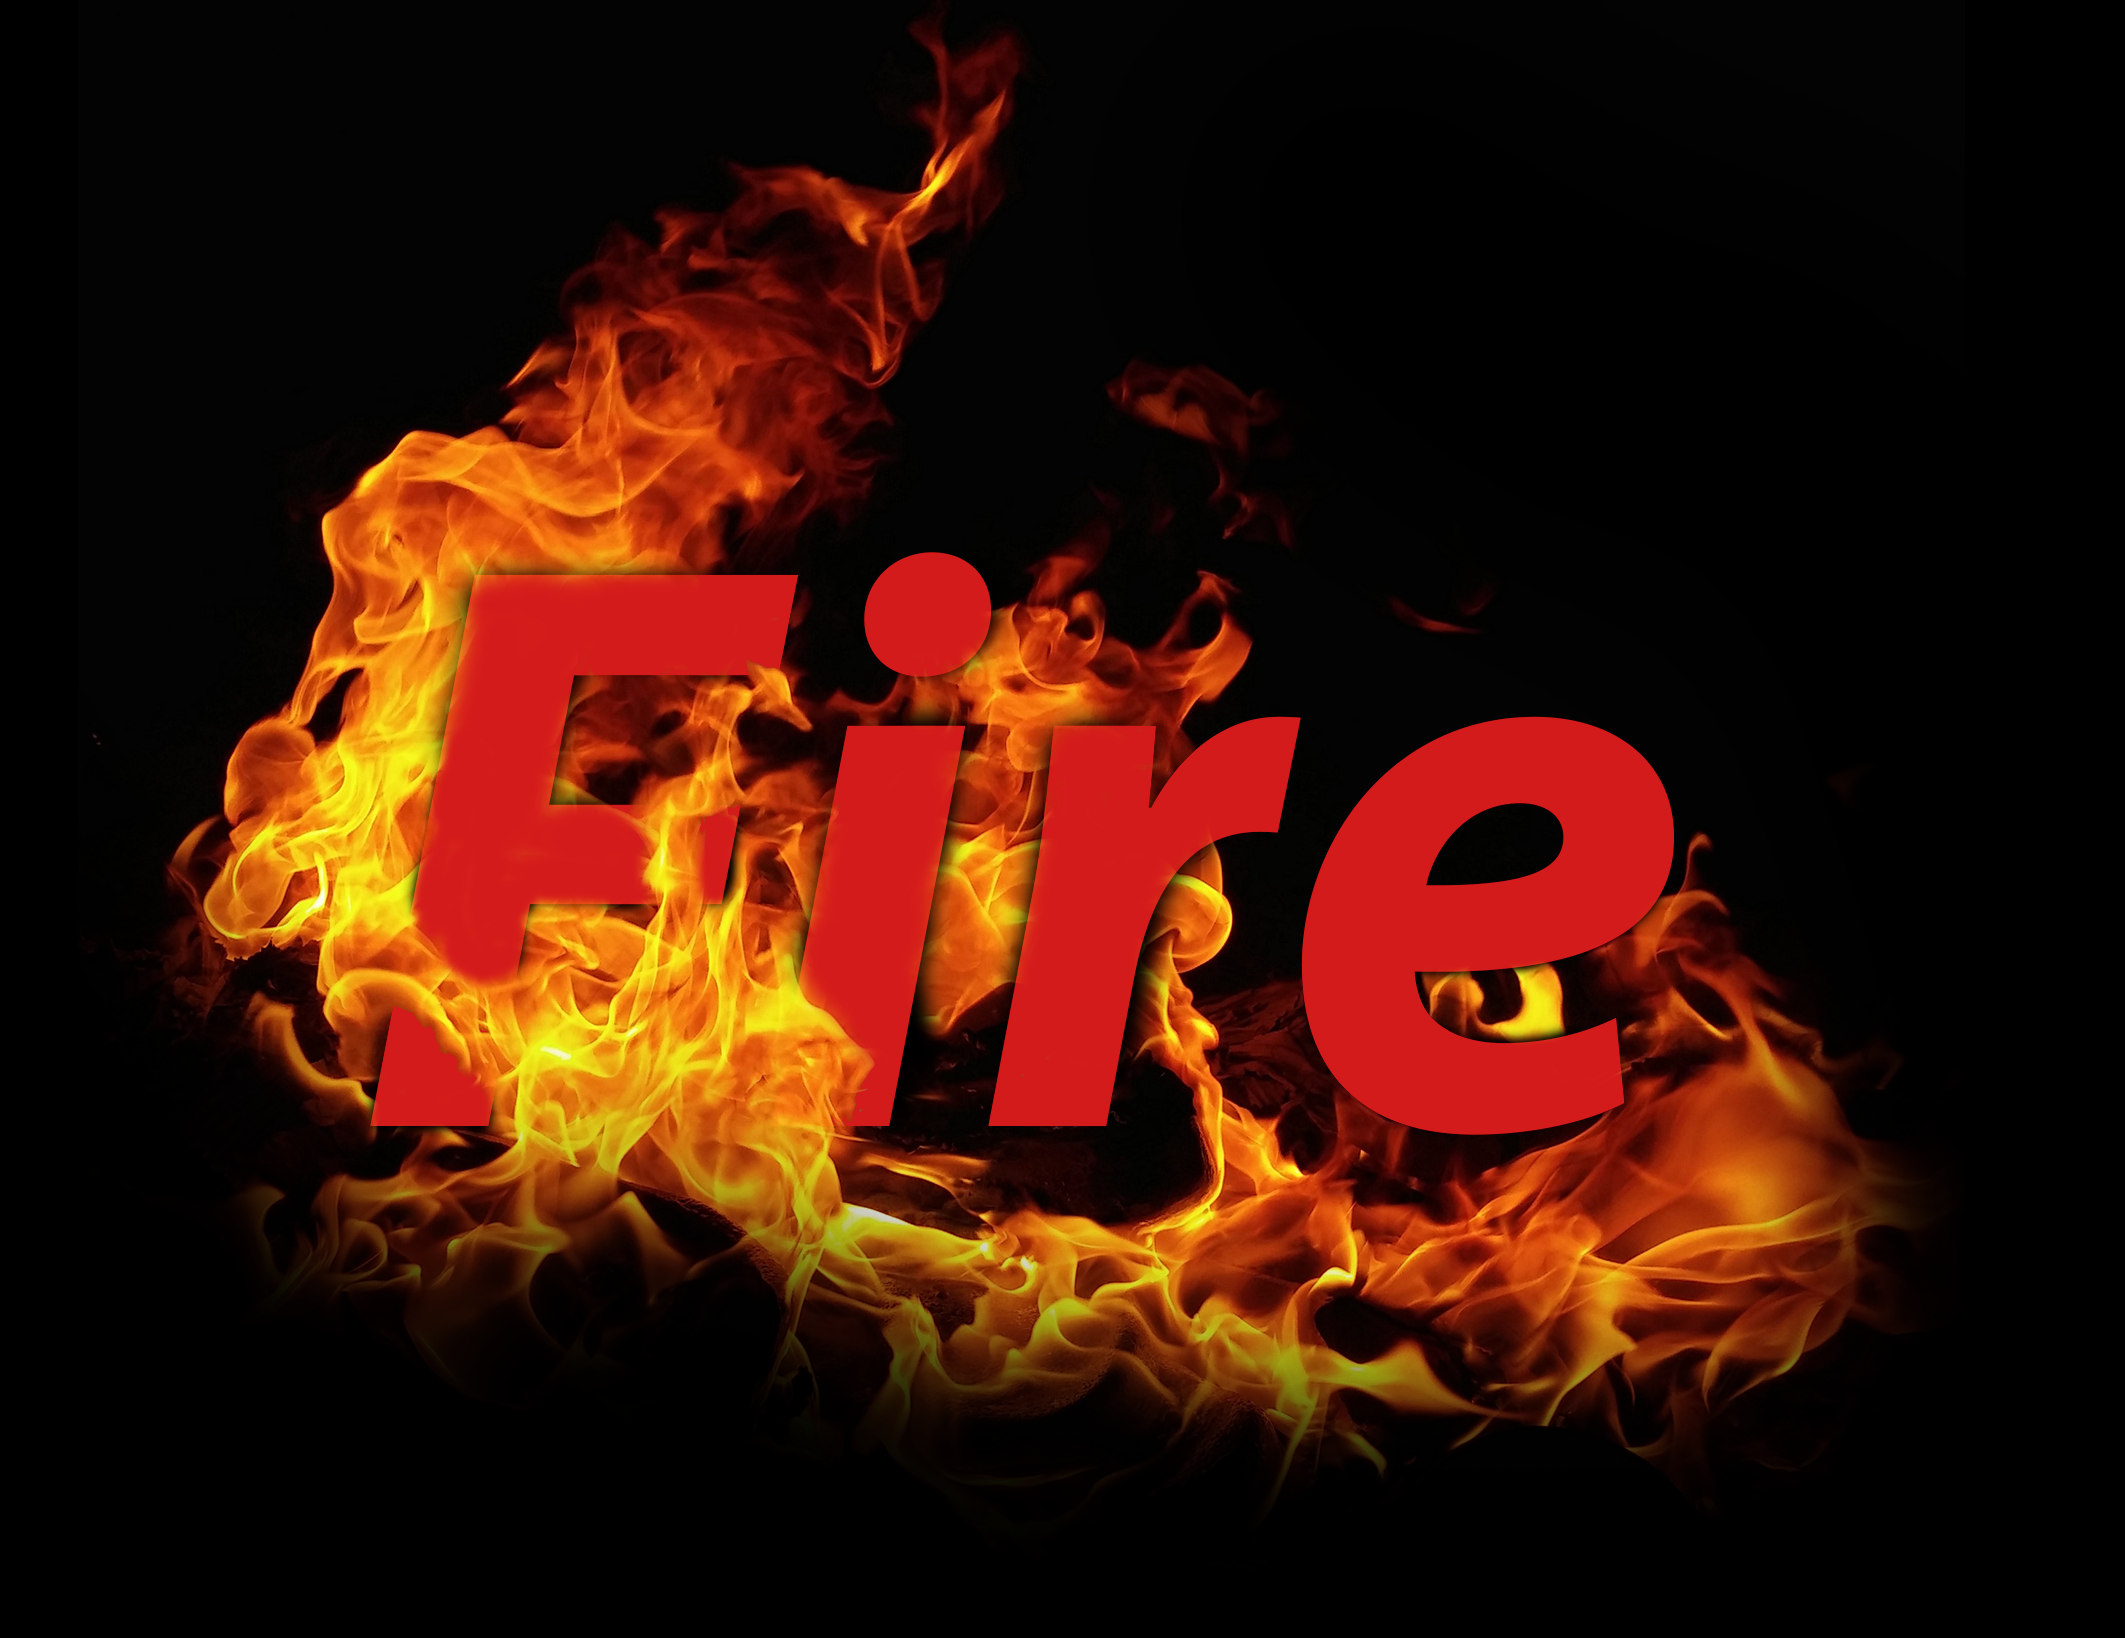
Using a selection for masking.
This is done by using one of the many selection methods then using a mask layer on the layer you want to have masked. Masking this way leaves less room for tinkering with the way the layer is masked out like in the last method. However, it does make it easy to mask things out things like to text. To do this method first you have to have 2 layers set up one with the shape for the mask layer and one with the image you want to have masked to the shape, then select the shape for your mask, then change layer to the one you want masked and then make a mask layer.


Colour on Black and white.
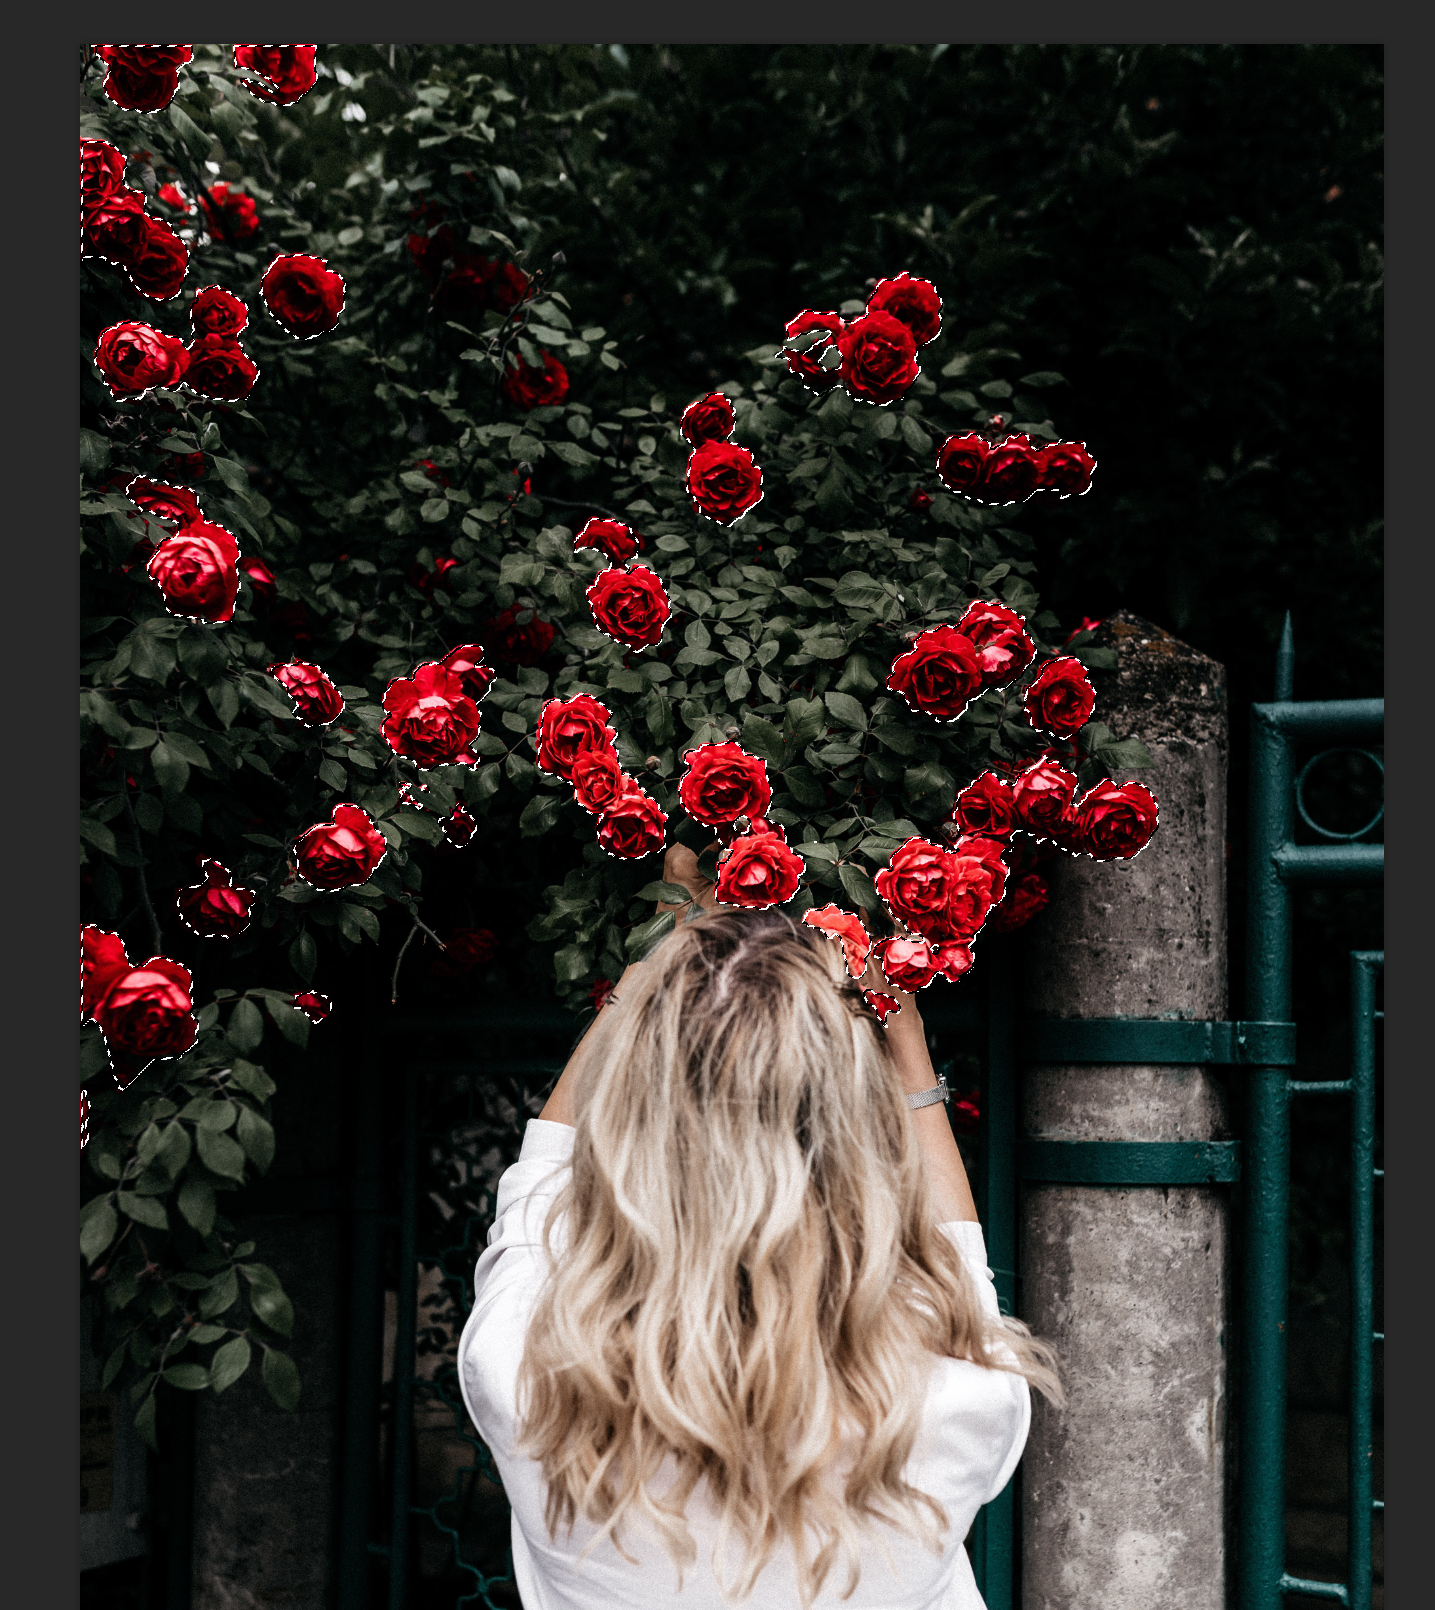
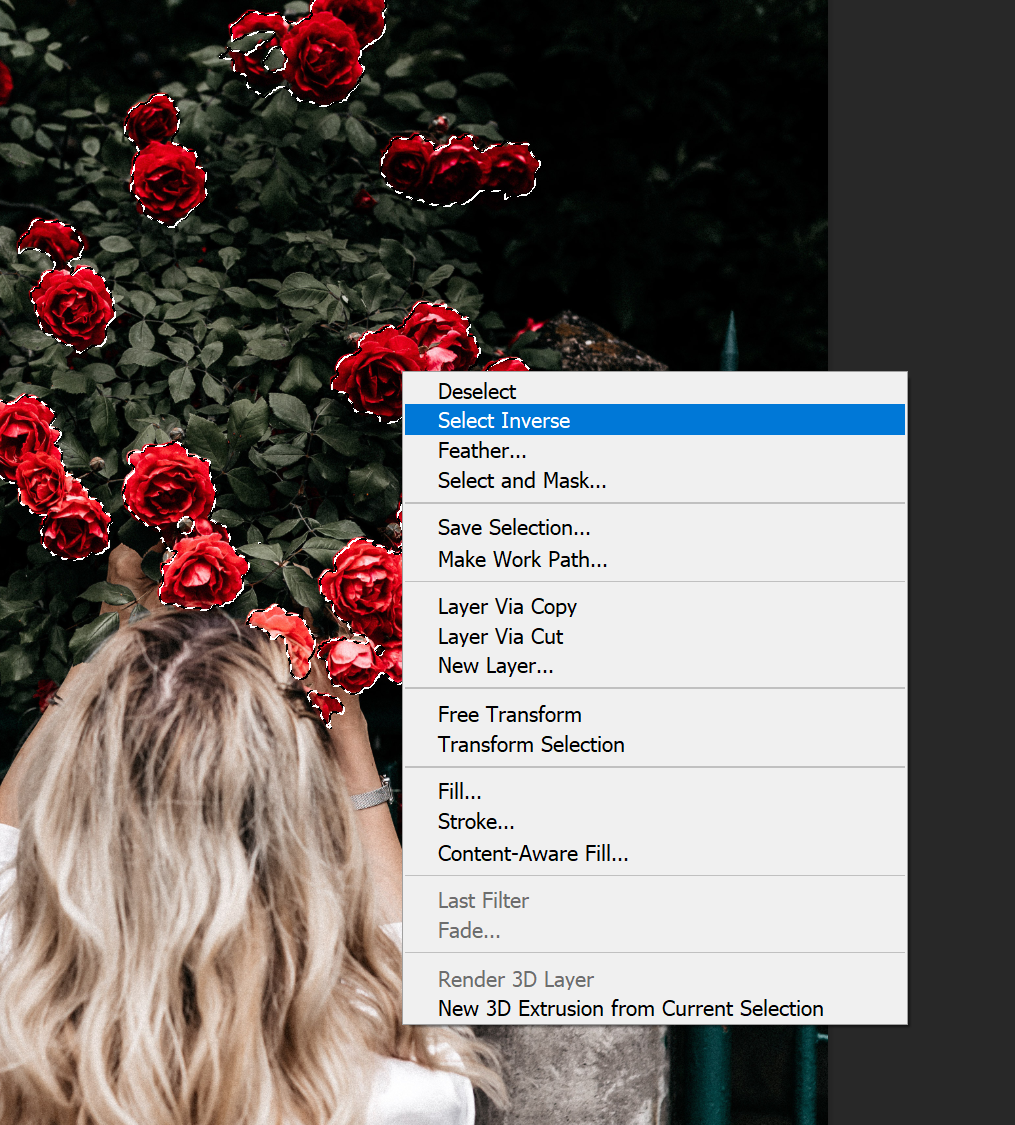
One of the things you will see done in Photoshop is a black and white image with colour picked out. You can this in a few different ways but one of the easier ways to get this effect is the method I will show you. The First thing to do in this method is to duplicate the base layer. Then, using whatever method works best for the image you are working on highlight the parts of the image that you want to be in colour. Once you have the selection invert that selection and delete the selection this will mean the background layer will show through. You can then select the background layer again and in the image/adjustment’s menu select black and white. After all this is done, you will have an image with colours that are in specific areas. From this point you can use adjustment layers to change the way the colour layer is displayed.


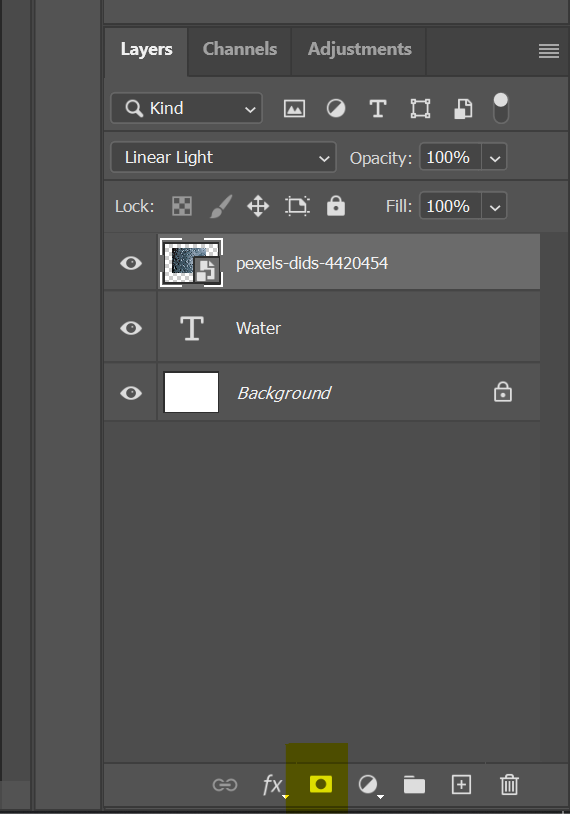
Layer styles
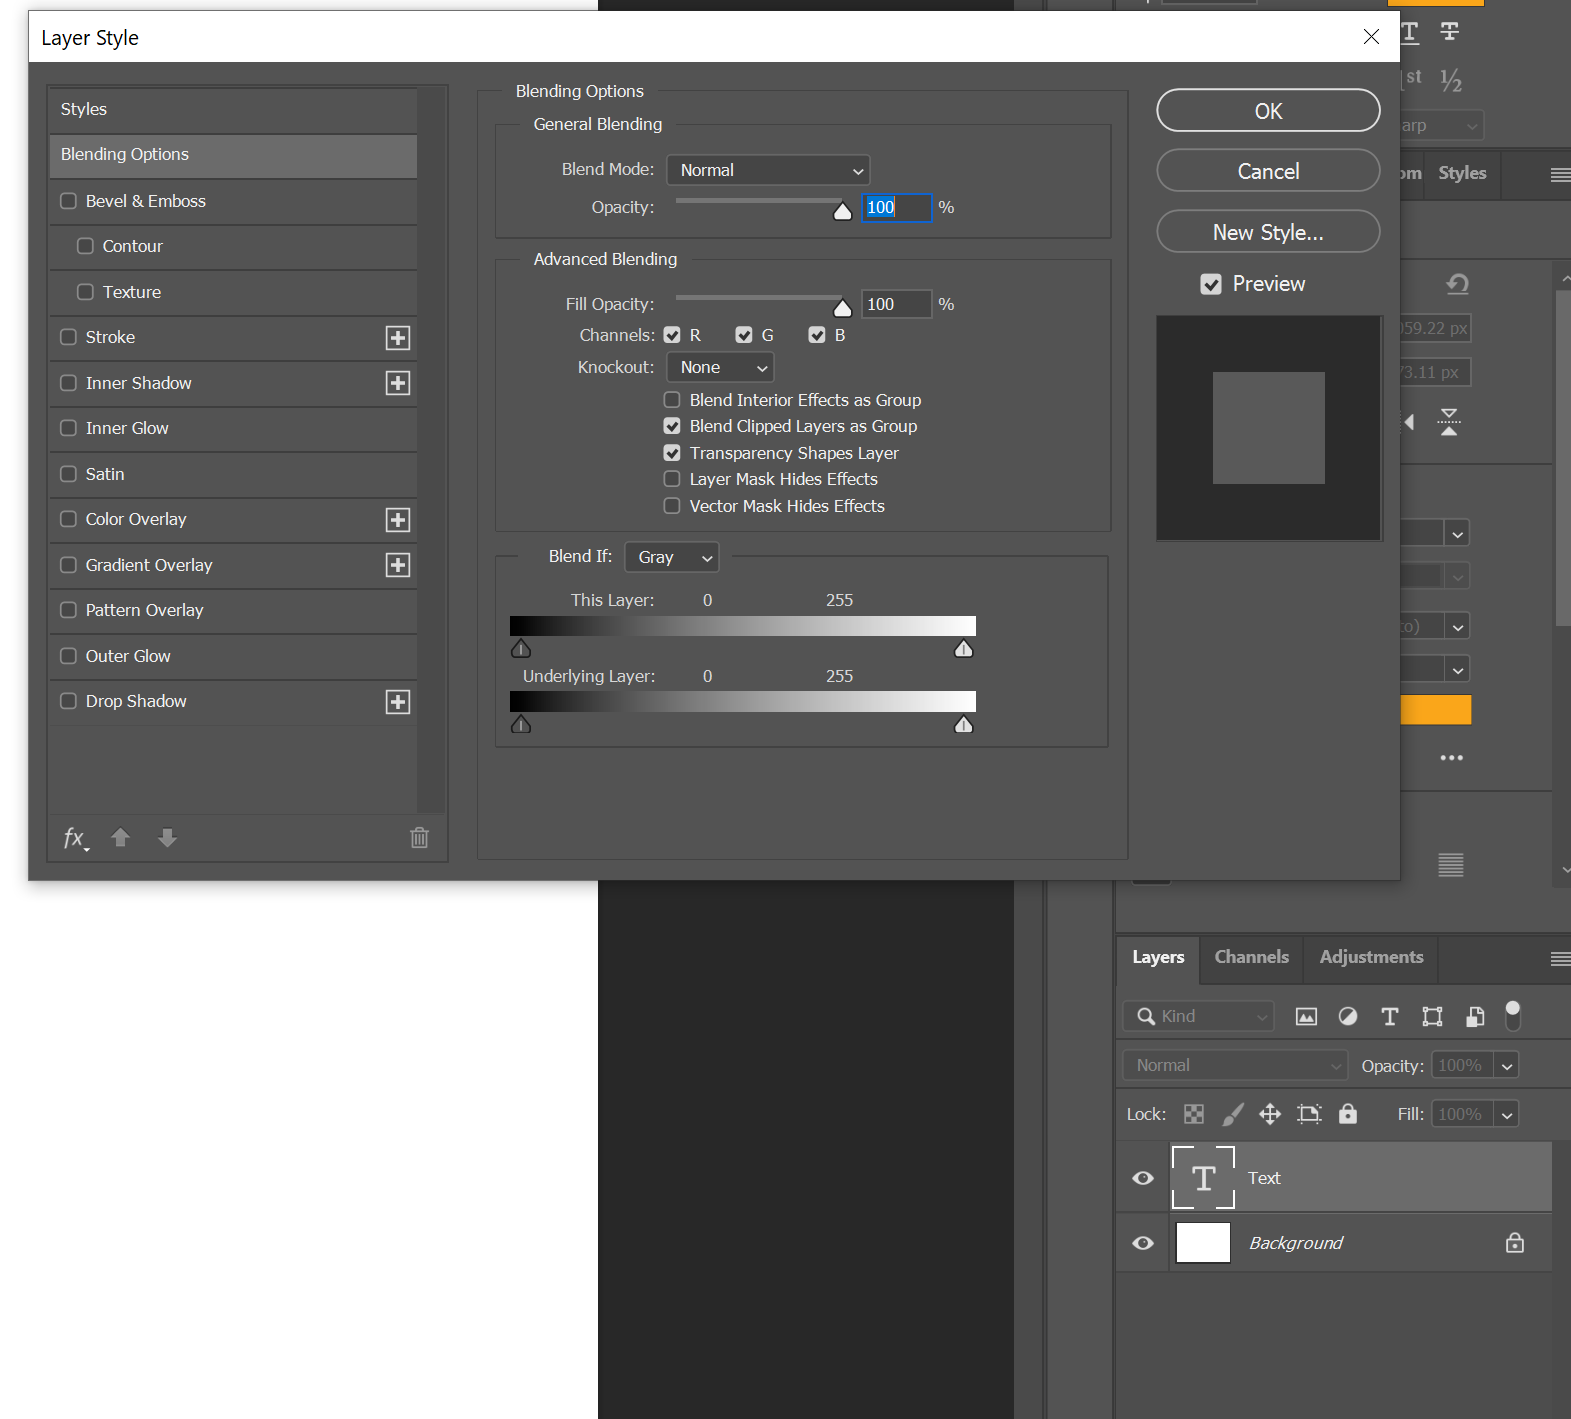
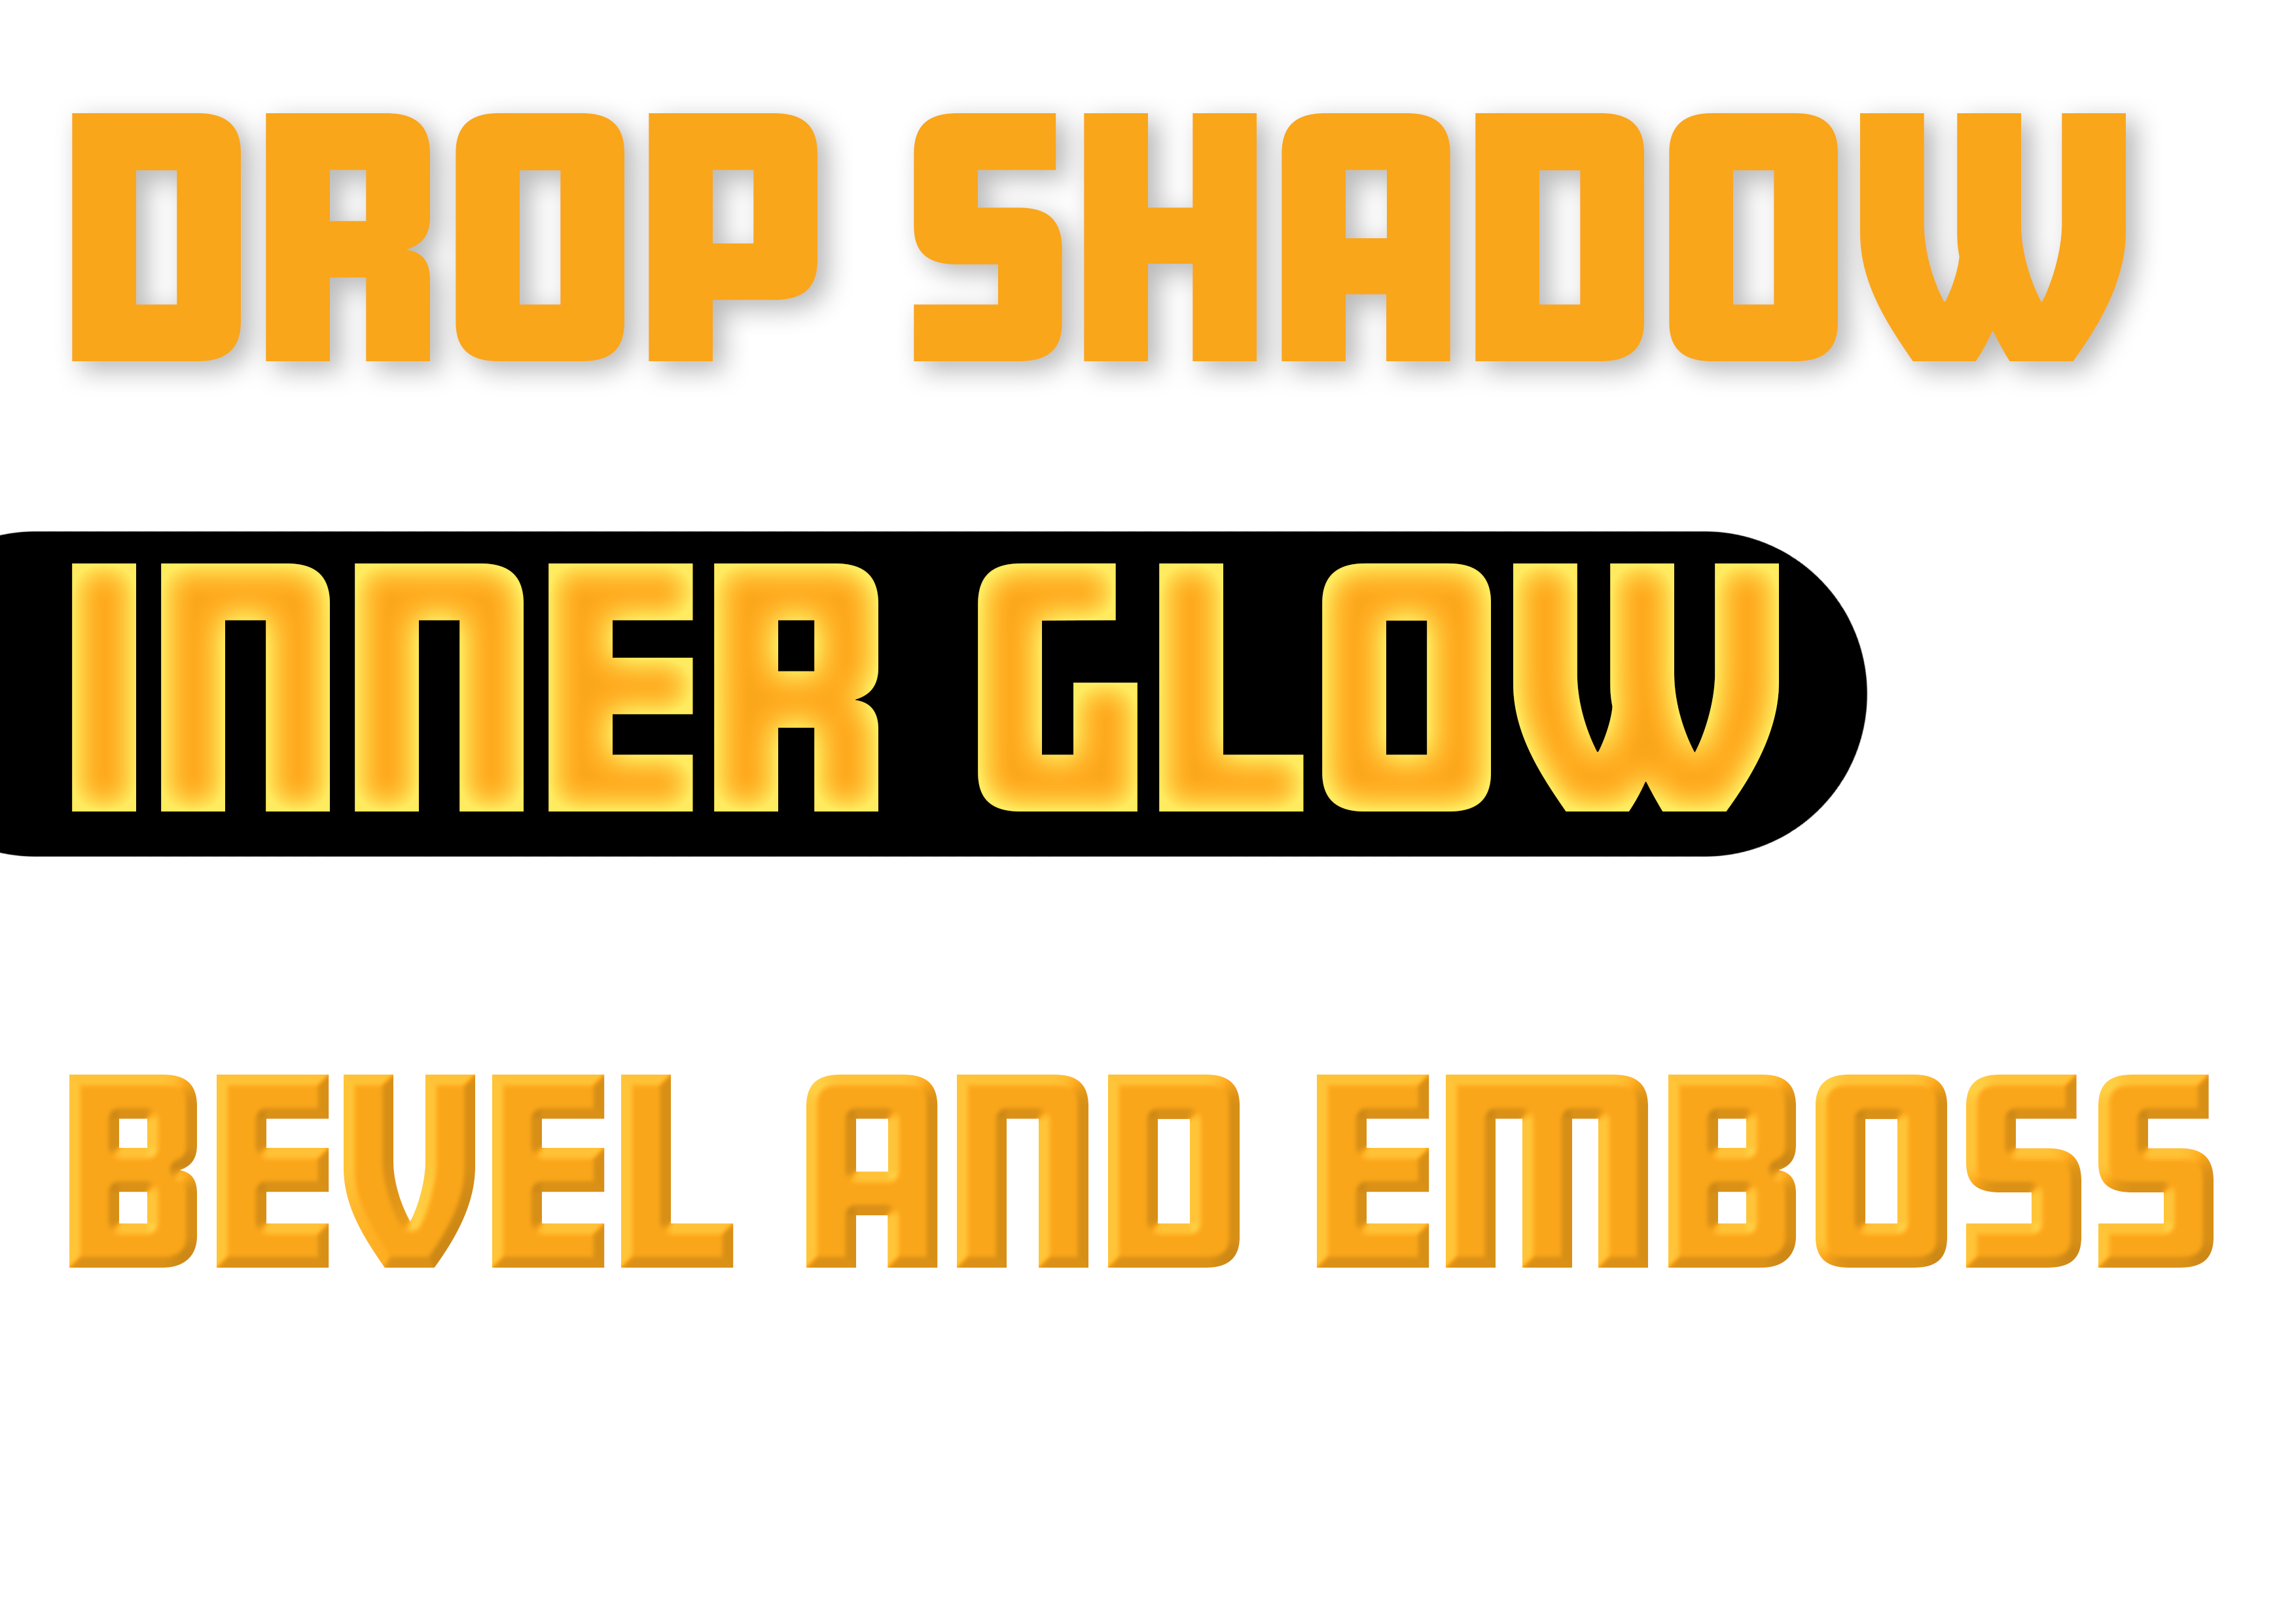
Using layer styles you can add effects to a layer in an easy manner this can save you some time instead of trying to do some effects manually. All you have to do is check the box for the effect you want to add the effect to the layer you are working on. Using layer styles you can do effects like glow to make a neon sign or even just adding a drop shadow. To get to this panel all you have to do is double click the layer in the layers panel and get started.
There we go a few more things that can help with your design work in Photoshop.
That’s it from me for now. Go out and make something cool.
Steven.
