In the Power Automate community it's considered a good idea to create a Service Principal connection when working with Dataverse. This blog (https://benediktbergmann.eu/2022/01/04/setup-a-service-principal-in-power-automate/) gives an excellent example of how to create one and why you would use it - the main reason being if Bob from accounting gets fired and all the connections for very important Power Automate flows are using his credentials.
So they're great and there's plenty of resources about how to set one up and configure it - but I couldn't find that much helpful information about how to set one up in an environment that you've deployed a managed solution to, which is one of the recommended ways to promote a solution through different environments (e.g. TEST, PROD, etc.)
The problem is that you're only ever prompted to use a Service Principal for a connection when you create a new one inside of a cloud-flow (as of this writing). If you try to create a new connection the regular way in Power Platform you'll be prompted to enter the User Credentials (yours or someone else) and then you've got a regular old dataverse connection.
Normally this isn't a problem if you're operating in a single environment or playing with stuff yourself, but when you go to move to a higher environment - Test or Prod, you're going to need to have the Service Principal connection already setup so that you can provide it as the connection of choice.
Make a new service principal connection
How to do this? Turns out it's quite simple - assuming that the Service principal has already been defined for your particular environment all you need to do is create a simple cloud flow with a new Dataverse connection - cue training montage...
First make a new cloud flow in your desired environment - a simple straight forward manual start trigger will do.
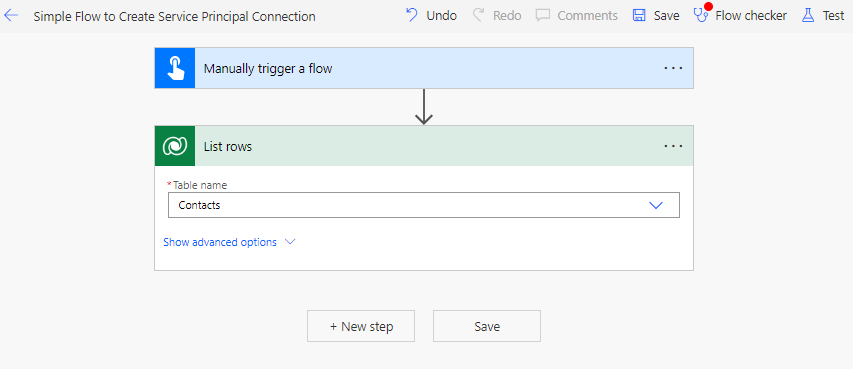
The example flow shown above has a simple Dataverse List Rows action working on the stock standard Contacts table. It honestly doesn't matter what table you use as we're only using the action to create a new service principal connection.
To get started with that lets click on the 3 dots in the top right of the List rows action. This will give you the option to change connections (if you have others) or to create a new connection. Choose to create a new connection and the List Rows action gets replaced with a connection dialog.
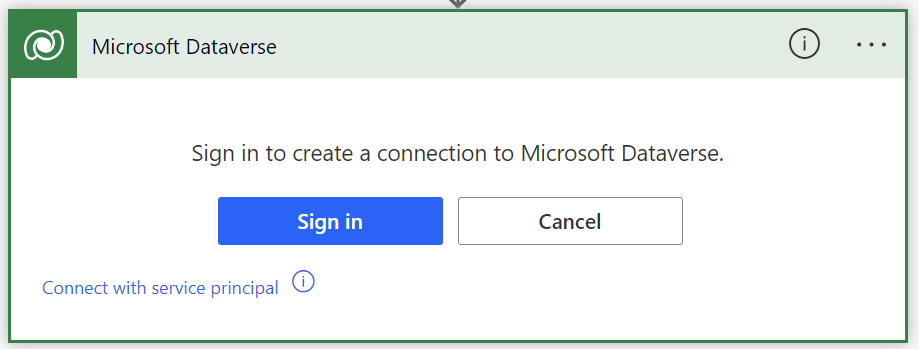
For this example we want to choose the (tiny) Connect with service principal option. This will spawn a dialog box to configure the connection correctly.
In order to populate all of the fields you're going to need information from the setup of the Service Principal for your particular environment, namely the Client ID/Application ID and Tenant ID. You may also have to get a new Client Secret created if you don't have the current details. If you don't have the required access/permissions to do this then talk with the person who set up your Service Principal.
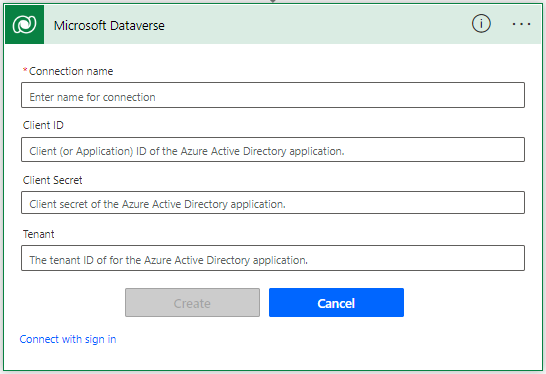
Once everything is filled in click on create and the display will go back to the original form of the List Rows action, but this time it will be using the newly created service principal connection.
Change existing connection references to service connection
Now that we've got a Service Principal connection created we don't really need the new cloud flow anymore. Although if you want to test that everything is alright you can try running it. What we really want to do is use the Service Principal connection for deployed (or soon-to-be deployed) solutions.
If you're about to deploy a managed solution for the first time to an environment where a Service Principle connection exists you should have the option to use that connection during the deployment process. If you've already deployed and are playing catch-up then you'll need to re-map your existing connections(s) to the Service Principal one.
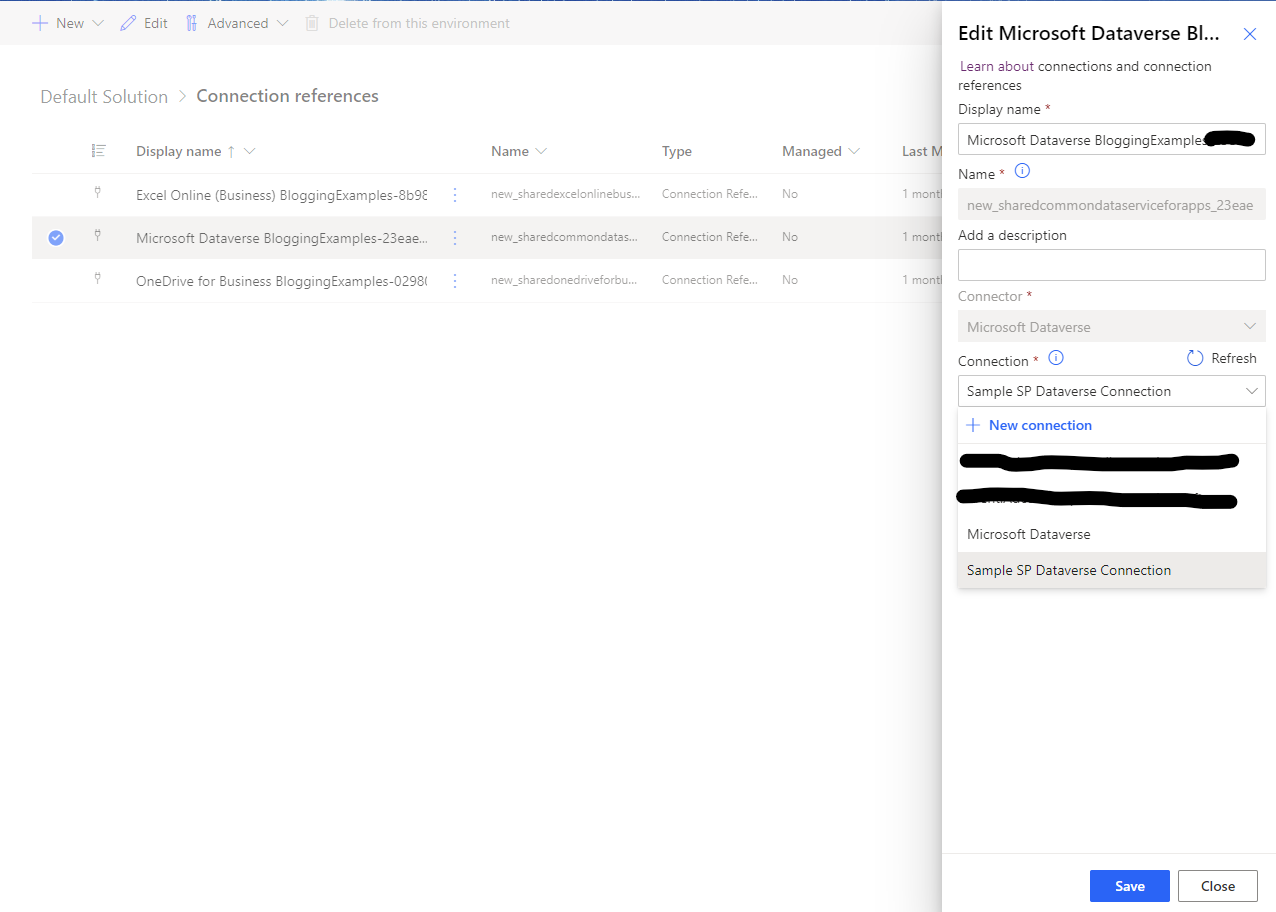
The tricky part here is that the sole purpose of a Managed Solution is to prevent any changes to itself after deploying to other environments, so how are we going to re-map the connections? Well it turns out to be pretty simple - in each environment there is a Default Solution (see below screen shot) which contains all of the elements of the other solutions
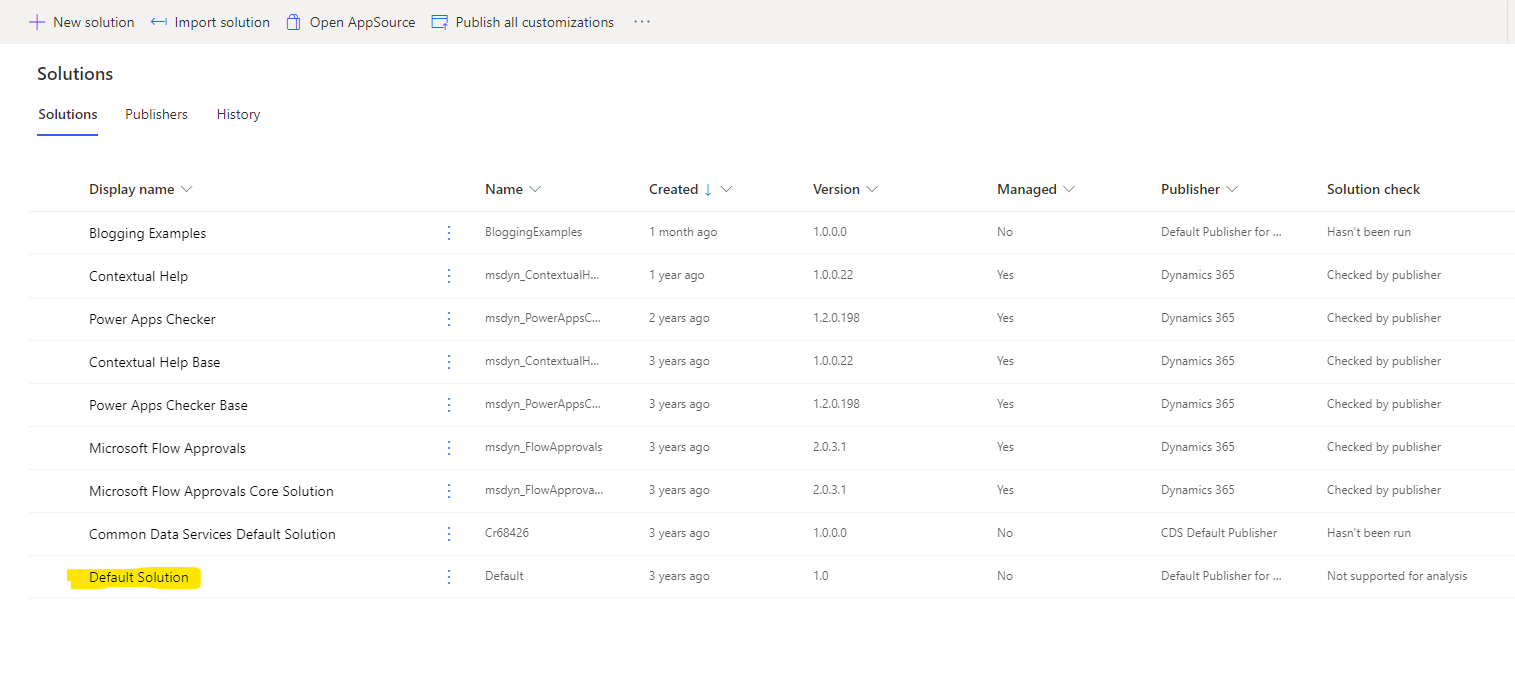
When you navigate into the Default Solution you'll see that everything is listed, so work your way down to the connection references group and find the one(s) relevant to your solution.
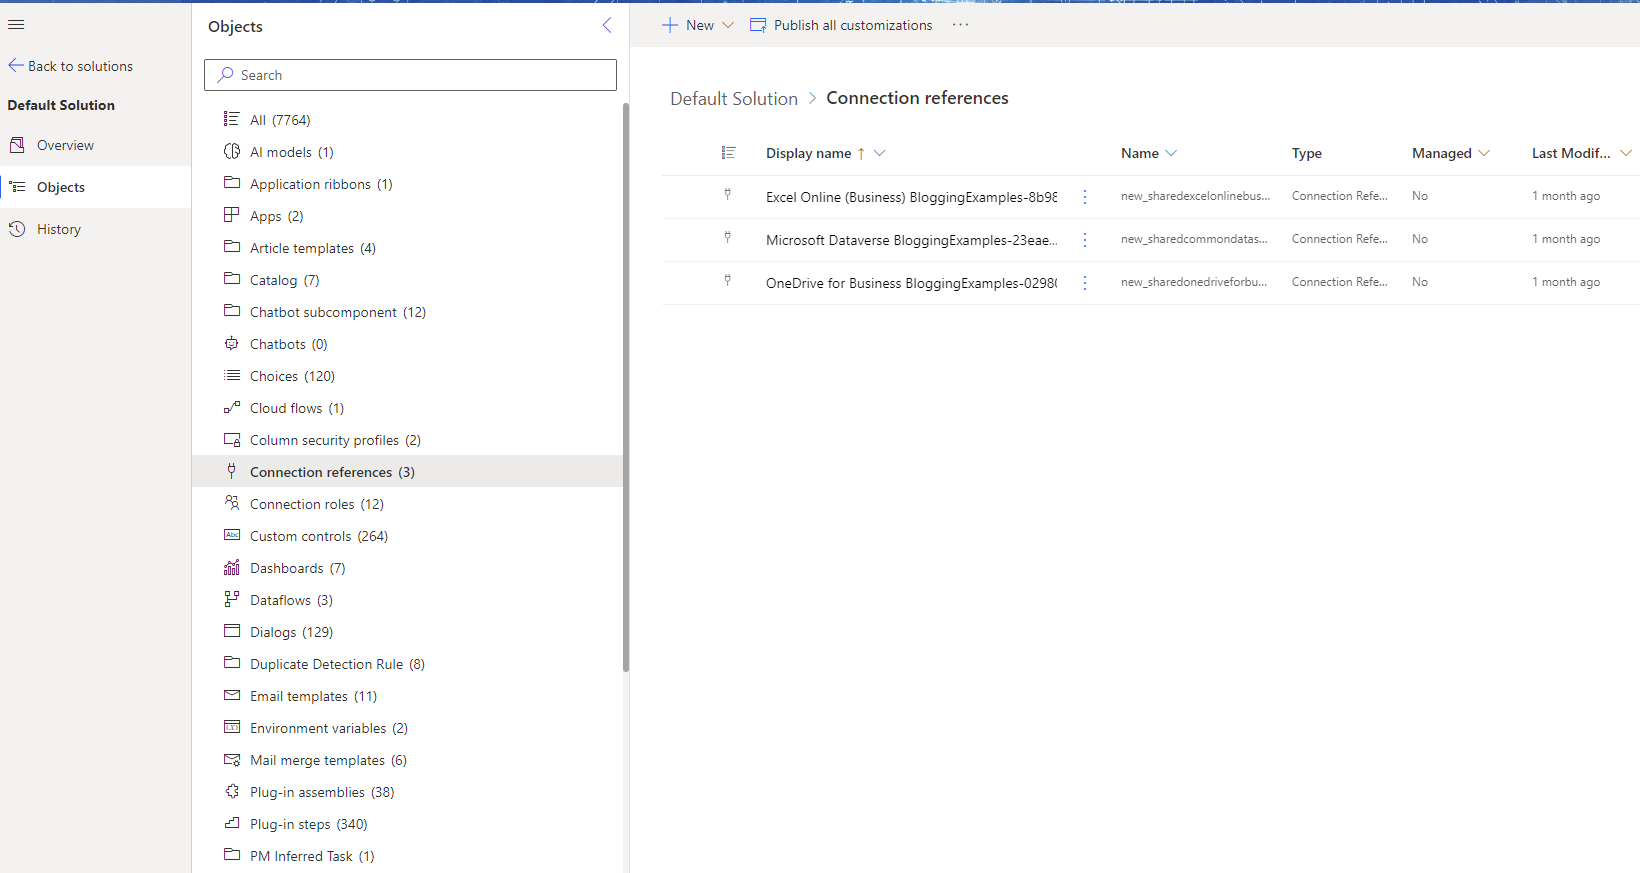
Once you've found your relevant connection reference, click on the three vertical dots and choose to edit it. In the sidebar that pops out you simply need to select the new service principal connection and you're done.